
Dining Room and Kitchen Island Lighting – How Many Lamps and How High
The kitchen island has dethroned the table as the heart of the open-plan home – it is where we chop, stir, eat breakfast and hold the evening conversations over a glass of wine. It has just one problem: it comes with no light above it. Kitchen island lighting is now one of the most common questions in kitchen design, closely followed by the next ones: how many pendants – one, two or three? At what height? What spacing? And how do you tie it all together with the dining room lamp hanging three metres away, over the table? In this guide we answer all of those questions with numbers – from island length, through hanging height, to loft, boho and glamour styles.

Table of contents
- The island and the table are two different lighting jobs
- How many pendants over a kitchen island: one, two or three?
- How high to hang lights over the island
- Spacing and diameter: simple island arithmetic
- Loft, boho or glamour over the island?
- The dining room lamp: the table zone in an open plan
- Colour, lumens and the dimmer
- Practical details before you buy
- Summary
The island and the table are two different lighting jobs
Although from a distance they look alike – a row of pendants above a worktop – the kitchen island and the dining table make completely different demands on light:
- The island is a workstation. You chop on it, knead dough, read recipes – the light must be stronger, even along the whole length of the worktop, and hung so that it doesn’t stare into the eyes of someone working standing up.
- The table is a stage for gatherings. Here the light hangs lower, glows warmer and draws a circle of focus around the seated. The rules for hanging a lamp over the table – the 60–80 cm height above the tabletop, choosing the diameter and the number of pendants – have their own detailed guide on this blog.
This post closes the topic from the kitchen side: first the island, then a coherent whole with the dining area. Because in an open plan you always see those two lighting zones together – and they look best when they talk to each other rather than shout over one another.
How many pendants over a kitchen island: one, two or three?
The question of how many lamps to hang over a kitchen island is answered first and foremost by the length of the worktop:
- island up to 120 cm – one lamp hung centrally; a larger shade (35–50 cm) or a linear fitting shorter than the worktop looks good,
- island 120–180 cm – two identical lamps, each over the middle of “its” half,
- island 180–250 cm – three pendants in an even rhythm – the most common and most photogenic layout,
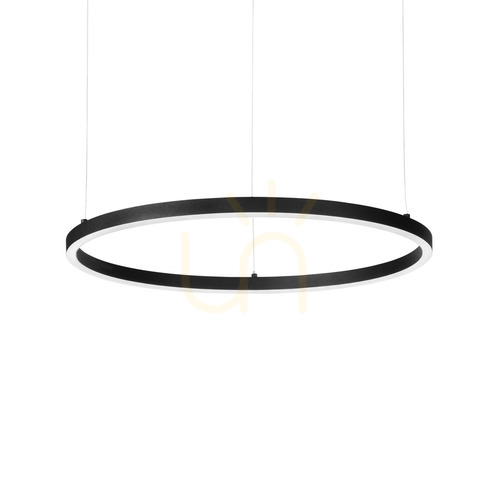
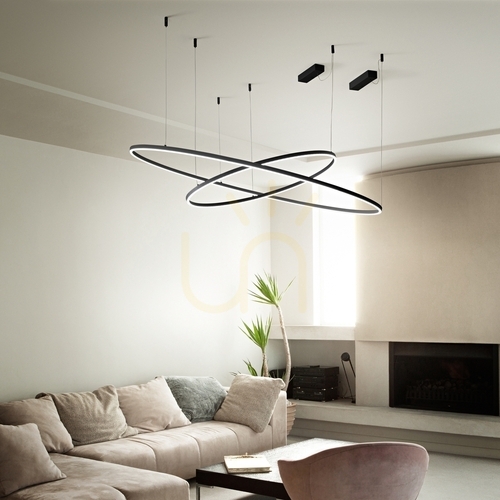
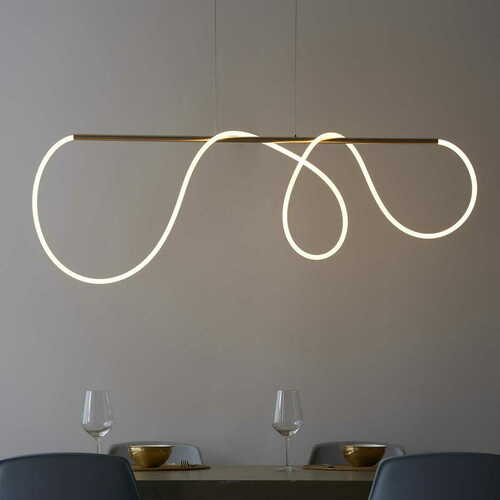
- island over 250 cm – three larger shades, four smaller ones, or a single linear LED fitting run along the axis of the worktop – beyond a certain length a row of single bulbs stops keeping up with the surface.
Two aesthetic principles that tidy up the choice: odd numbers usually compose themselves – one and three lamps are forgiving, two are just as correct but demand a symmetrical island; and pendants in a row are safest chosen identical – mixing models over one worktop takes practice and a consistent key. If you crave variety, vary the hanging height, not the shades.





How high to hang lights over the island
The height of a lamp over the island follows a different range than over the table: the lower edge of the shade should fall 75–90 cm above the island worktop. Why the difference? At the island you stand rather than sit – a lamp hung “table-style”, 60–70 cm above the surface, would shine straight into a standing cook’s eyes and hide the faces on the other side.
In practice, with a typical island height of 90–95 cm, that puts the shade at 165–185 cm above the floor:
- closer to 75 cm above the worktop – when the shade is closed at the bottom or diffuses light; lower means cosier and stronger on the surface,
- closer to 90 cm – with exposed bulbs, tall household members, and islands people often talk across,
- the practical test: stand at the island where you most often work – the light source itself must not be visible in your line of sight, and the shade must not hide the face of the person on the other side of the worktop. If either condition fails, raise the lamp a few centimetres.
If a sloping ceiling or a mezzanine runs above the island, fittings with adjustable suspension come to the rescue – each pendant can then be set to a different cord length while keeping the lower edges in a level line.
Spacing and diameter: simple island arithmetic
A row of lamps looks good when its rhythm is genuinely even. A simple procedure:
- Set the centres of the end lamps 30–40 cm in from the ends of the worktop (more with large shades – the edge of the shade should not reach the end of the island). A pendant hanging exactly over the edge looks like it wants to fall off.
- Divide the remaining length into equal sections – shade centres every 60–90 cm, depending on their diameter. A smaller gap gets visually cramped; a bigger one tears the row into unrelated points.
- Check the daylight between the shades: the gap between the edges of neighbouring shades should not be smaller than half their diameter – otherwise the row merges into a single mass.
Diameter works like shoes – proportion decides, not fashion: with a typical island depth of 80–100 cm, shades of 20–40 cm in rows of two or three fit best, or one larger one (40–50 cm) over a short worktop. The shade should leave clearance both on the working side and on the bar-stool side – a lamp overhanging the people seated shines in their eyes and blocks their view of the kitchen. An aesthetic rule (indicative, not technical): the sum of all the shade diameters should not exceed about half the island’s length – past that point the lamps start crushing the worktop instead of adorning it.
Loft, boho or glamour over the island?
The row of pendants over the island is the most exposed lamp in the open plan – visible from the kitchen, the living room and the hallway at once. The three most popular directions:
- A loft-style island lamp – black metal domes, cones and wire shades, happily paired with a decorative filament bulb. A loft pendant over the kitchen island fits wood or concrete cabinet fronts like a glove; a black row of pendants graphically “weighs down” light-coloured cabinetry. It is the most searched-for style in this category.
- Boho and nature – woven shades of rattan and seagrass filter light like lace and warm up modern cabinetry. Over the island they look best in odd numbers, hung in an even row; leave the mixed sizes to loose, decorative arrangements over the dining end of the worktop.
- Glamour and elegance – glass spheres, brass details, velvet and satin shades in jewellery colours. One rule: the more decorative the shade, the calmer the kitchen cabinetry behind it should be.
Minimalists have a fourth road: a linear LED fitting – one slim profile instead of a row of shades, light perfectly even along the whole worktop and zero debates about spacing.


The dining room lamp: the table zone in an open plan
In an open plan, the dining room lamp and the island pendants perform on one stage – literally: you see both in a single glance. For the whole to play together:
- Repeat one common denominator – the metal colour, the shade material or the form. Black domes over the island and a black, larger version over the table are a duo you cannot spoil; rattan over the island likes a rattan sphere over the table.
- Vary the scale and the height. Over the table the lamp hangs clearly lower (60–80 cm above the tabletop) and can be bigger – it is meant to be the soloist, while the island row sings backup.
- Don’t buy both sets at once without a plan – first the lamp over the table (larger, more decorative), then a matching row over the island. In that order a clash is much harder to achieve.
- Separate switches are not an extravagance. The island lights up for cooking, the table for dinner – wired to one circuit, they force you to light the whole kitchen at once.
You will find the full overview of pendants for the table zone in the Dining room lamps category, and fittings for cabinetry and worktops in the Lighting for the kitchen category.


Colour, lumens and the dimmer
Above the island, light works in two modes – task and mood – and three parameters reconcile them:
- Colour: 3000 K as the golden mean. Warm white doesn’t turn the kitchen into a laboratory yet still renders food colours well. If the island is your main workspace, you can go to 3500–4000 K – then a dimmer is especially worth planning in, so the evenings don’t turn cold. Around food, CRI ≥ 90 matters too – a tomato should be red, not brick-coloured.
- Flux: aim for around 300–500 lx on the worktop. In practice, over a mid-length island that means 2–3 pendants with 600–800 lm bulbs; with a dark worktop, a high ceiling or light-swallowing shades you need to go higher. These are indicative values – light fronts and worktops give light back, dark ones absorb it.
- A dimmer turns one row of lamps into three scenes: full power for chopping, half for dinner at the island, a dozen or so percent for the open kitchen’s evening “standby light”. Choose bulbs marked “dimmable”, and a dimmer designed for LED.
Practical details before you buy
- Ceiling points above the island must be planned early – at the electrical stage at the latest. If the renovation is behind you and there is only one outlet, ceiling bars with several pendants on a shared canopy come to the rescue – one outlet, three lamps.
- An adjustable cord is essential – most pendants carry 100–150 cm of slack; check before buying, because over the island the lamp has to come down low.
- Kitchen grease settles everywhere – above the island, life is easier with smooth shades (metal, glass) wiped in one motion than with weave or fabric. Openwork and rattan are better hung over the dining end of the island, away from the hob.
- A hob or sink in the island changes the rules – above the hob the extractor takes priority (hang lamps outside its zone, away from steam and high temperatures), and above the sink avoid fittings sensitive to splashes. A row of pendants over the island also doesn’t replace under-cabinet lighting over the wall worktops – that is a separate layer.
- Metal shades heat up from powerful bulbs – in closed, small domes stick to LEDs of moderate power; your electricity bill will say thank you too.
- Exposed bulbs only if decorative – filament LEDs of 2200–2700 K and moderate flux; a powerful bare diode at 170 cm is guaranteed glare.
Summary
Kitchen island lighting hangs right when the lower edge of the shade sits 75–90 cm above the worktop, and the number of pendants follows the island’s length: one up to 120 cm, two up to 180 cm, three up to 250 cm, beyond that – a linear fitting. Set the end lamps 30–40 cm in from the ends of the worktop, space the shade centres every 60–90 cm, and keep the sum of the diameters below half the island’s length. Add 3000 K with decent CRI, a dimmer, and a style tuned to the dining room lamp – a shared colour or material, a different scale. You will find candidates for both roles in the Dining room lamps and Lighting for the kitchen categories, and the widest choice of pendants in the Hanging Lamps category.
Bartosz Dziedzic


Maybe you will be interested in products from these categories?
Dining Room Ligts, Kitchen Lights, Pendant Lights
Tags & Blog Categories