
Step-by-step busbar installation – surface-mounted, flush-mounted, or suspended?
Track lighting is no longer limited to galleries and boutiques—track systems are increasingly being installed in kitchens, living rooms, and entryways. The biggest advantage? Just one connection to the wiring and complete freedom: you can move, rotate, and add spotlights without having to chisel into the walls. In this guide, we explain what a busbar system consists of, how a single-phase busbar differs from a three-phase busbar, and how to install a busbar step by step.

Table of Contents
- What does a busbar system consist of?
- Single-phase or three-phase busbar?
- Surface-mounted, flush-mounted, or suspended?
- Planning the busbar layout
- Step-by-step installation of a surface-mounted busbar
- Flush-mounted and suspended installation – what to keep in mind?
- Common installation mistakes
- Selecting spotlights: angle, lumens, CRI
- Summary
What does a track lighting system consist of?
A track system consists of modules that fit together like a construction set:
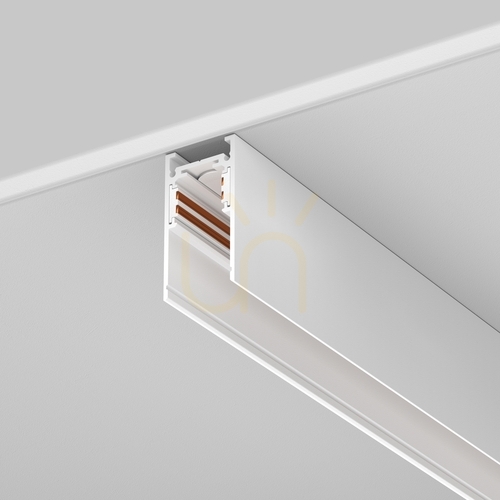
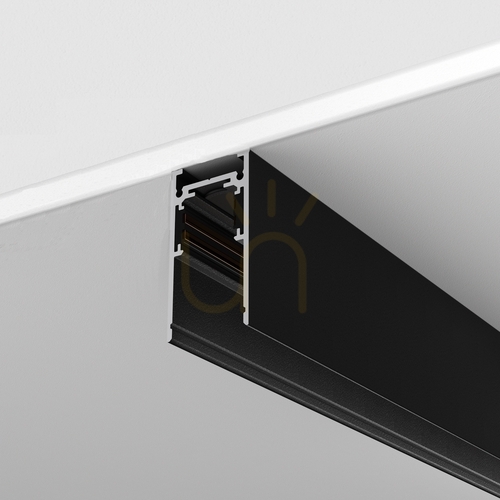
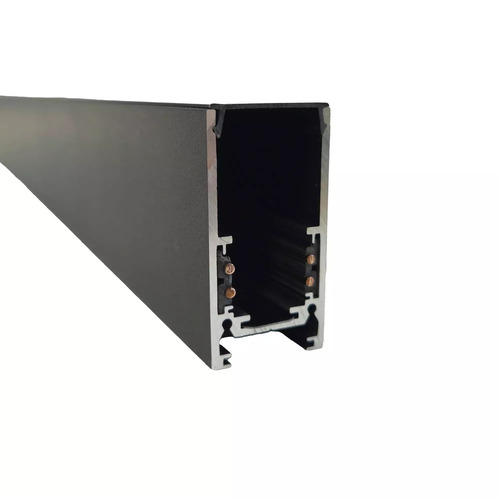
- Busbar (busbar rail) – an aluminum profile with copper conductors, cut to the required length. This is what the light fixtures “run” on.
-
Power supply – the component that supplies electricity: an end power supply (at the beginning of the track) or a mid-track power supply (at any point).
-
Connectors – straight, L-shaped (L), T-shaped (T), and cross-shaped (X). They allow you to create any configuration, including those that go around a ceiling corner.
- Adapters – these attach to the rail for fixtures that do not have a factory-installed rail mount, e.g. Standard pendant luminaires.
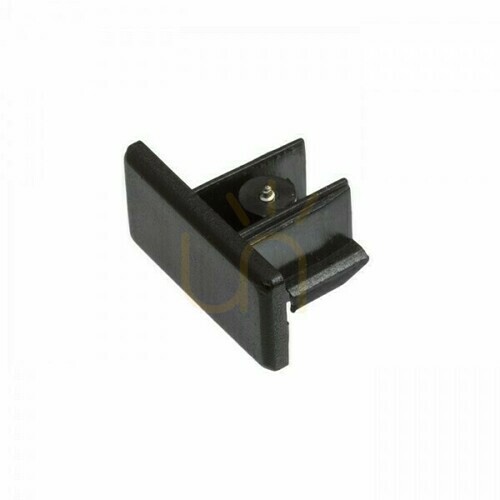
- End caps – close off the open end of the track, required for safety reasons.
- Spotlights and track lights – the actual light sources. Spotlights, pendant lights, and linear fixtures can be mixed within a single system.
You can find all components in the category Track Lighting, and complete, factory-matched sets – at Track Light Sets.



1-phase or 3-phase busbar?
This is the first decision you need to make—and the only one you won’t be able to change later without replacing the busbars:
- A single-phase busbar has one circuit: all fixtures turn on and off together. It is cheaper, usually slimmer, and is generally sufficient for home use (although the dimensions depend on the system and manufacturer).
- A 3-phase busbar carries three independent circuits. You assign each light fixture (using the switch on the adapter) to one of the three phases, and you can, for example,. turn on the task light, display light, and mood light separately. A standard fixture in stores and shopping malls. At home, it’s useful in large, multi-purpose spaces.
Practical note: Single-phase fixtures are not compatible with three-phase tracks (and vice versa)—before purchasing spotlights, check what type of system you have. Low-voltage magnetic systems constitute a separate category. In these systems, the fixtures are held in place by magnets and operate at a safe voltage of 48 V—they are what make the slimmest, flush-mounted ceiling installations possible.
Surface-mounted, recessed, or suspended?
- Surface-mounted installation – the track is screwed directly to the ceiling. The simplest and most affordable option, suitable for any apartment with an existing ceiling outlet.
- Flush-mounted installation – the rail is concealed within a suspended ceiling, with only a narrow gap visible. This option offers the most minimalist look, but requires a drywall ceiling and must be planned during the renovation phase.
- Suspended installation – the track hangs on cables 20–150 cm below the ceiling. A solution for high-ceilinged interiors and commercial spaces. Allows the light to be lowered closer to the display or countertop.
Planning the track layout
Before you screw anything in:
- Draw a floor plan of the room and mark the areas to be illuminated (countertop, table, paintings, bookshelf).
- Run the track along the zones, typically 50–80 cm from the wall or cabinet fronts—a spotlight shining at an angle of approx. 30° then casts no shadows from the head.
- Calculate the number of fixtures: as a rough guide, one spotlight per 1–1.5 m of track for general lighting. Add spotlights for accent lighting.
- Check the load: the total power of the fixtures must not exceed the track’s current capacity (usually 10–16 A per phase, so with LEDs there is a huge margin).
- Choose a power supply point closest to an existing outlet—this will save you from running a new wire.
Step-by-step installation of surface-mounted busbar
Perform electrical work only with the power off, and if in any doubt, have a licensed electrician handle the connection.
- Turn off the lighting circuit breaker and use a voltage tester to verify there is no voltage on the outlet wires.
- Cut the busbar to the planned length (using a metal saw, cutting perpendicular to the grain), and clean the edge of any burrs.
- Mark the installation line along the planned route and trace the mounting holes for the track.
- Drill the holes and insert anchors suitable for the ceiling (concrete, drywall with appropriate drywall anchors).
- Screw the rail to the ceiling, having previously threaded the power cables through the power supply unit.
- Connect the power supply: the live wire (L) to the live terminal, the neutral (N) and protective (PE) wires to the marked terminals. In a 3-phase busbar, connect the phases according to the manufacturer’s diagram.
- Seal the ends of the busbar with end caps and connect the sections with connectors if the system consists of several parts.
- Install the fixtures: slide the adapter onto the track and turn it until it clicks into place. In 3-phase systems, set the phase number on the adapter.
- Turn on the power and position the spotlights —direct the light at an angle of approx. 30° toward the surfaces to be illuminated, not straight down.
Recessed and suspended installation – what should you keep in mind?
The flush-mounted track is installed during the construction of the suspended ceiling: the recessed profile has flanges that align flush with the drywall, and the entire assembly is finished with joint compound like a corner. It is essential to plan the electrical wiring and access points before installation—once the ceiling has been plastered, the wires will no longer be accessible. If you’ve already finished your renovation, a surface-mounted track in the same color as the ceiling will achieve a similar effect.
The suspended version requires only that you attach the cables to the ceiling every 1–1.5 m and level the track. Note how the power cord is routed—in elegant designs, it runs inside one of the cables.
Common installation mistakes
- System incompatibility – spotlights purchased for a track of a different standard. It’s safest to stick with a single manufacturer or a proven 3-phase standard.
- A track in the center of the ceiling —the light falls on the floor instead of on countertops, paintings, and bookshelves. Run the track along the zones, not through the middle of the room.
- No end caps – exposed live tracks are asking for trouble.
-
Not enough track – a system bought “just enough” leaves no room to add fixtures. Buy a meter too much rather than too little.
- Mixing light colors – 3000 K spotlights next to 6500 K ones on the same track look haphazard. Stick to a single color temperature, preferably 3000–4000 K.
Choosing spotlights: beam angle, lumens, and CRI
The system itself is only half the battle—the effect is determined by the fixtures that will be mounted on it. When choosing spotlights, consider these three parameters:
- Beam angle: narrow (15–24°) highlights an object, plant, or wall texture; universal (36°) provides general lighting for a countertop or floor; wide (60°+) evenly illuminates a larger area. You can adjust the angles on a single track depending on the task.
- Light output: approximately 300–400 lm per spotlight for accent lighting, 500–800 lm as task lighting above the countertop. Choose the total lumen output based on the area (approx. 200–300 lm/m² of general lighting).
- Color temperature and CRI: 3000–4000 K and CRI ≥ 90 in the home—when displaying products, artwork, or food, the difference is visible to the naked eye.
If you plan to use dimming, check whether the spotlights are dimmable and whether the dimmer (or controller in a 3-phase/magnetic system) supports LEDs—otherwise, the light will flicker.
Summary
Installing surface-mounted track lighting is a job that a skilled person can complete in an hour or two: cut to size, screw in place, connect the power supply, and plug in the fixtures. The key is good planning: choose a system (single-phase or three-phase), run the track along the areas you want to light, and leave some extra length for future fixtures. You can find rails, power supplies, connectors, and spotlights—all in one standard—in the Track Lighting category.



Victoria


Maybe you will be interested in products from these categories?
Track Lighting, Lighting Tracks, Track Lights, Track Light Sets
Tags & Blog Categories