
Complete Bathroom Lighting – Ceiling, Mirror and Bathtub Zone
The bathroom is the one room in the house where light has to do three different jobs at once: give enough brightness for the morning routine, light your face at the mirror without shadows, and set a mood for an evening bath – all while surviving moisture and splashing water. In this guide we show how to choose bathroom lamps and plan complete lighting: from IP safety zones, through the ceiling and mirror, to mood lighting by the bathtub.

Table of contents
- Three layers of light in a bathroom
- IP zones – which safety class goes where
- Ceiling lighting – flush mounts and downlights for general light
- Illuminated mirror – light for makeup and shaving
- Color and CRI – why they matter especially in the bathroom
- Mood by the bathtub – dimming and warm accents
- How many lamps does a bathroom need – a quick calculator
- Frequently asked questions
- Summary
Three layers of light in a bathroom
A well-lit bathroom rarely has a single light source in the middle of the ceiling – it needs three complementary layers:
- General light – evenly brightens the whole room, usually from the ceiling (a flush mount or recessed downlights).
- Task light – focused at the mirror, for shaving and makeup, where the absence of shadows on the face matters most.
- Mood light – warm, dimmed, by the bathtub or shower, for an evening bath.
Each of these layers has different requirements for brightness, color, and mounting location – so a good bathroom lighting plan starts by separating these three functions, not by picking one nice-looking lamp.
IP zones – which safety class goes where
A bathroom is divided into zones with different levels of water exposure, and each requires a different IP safety class:
| Zone | Description | Minimum IP class |
|---|---|---|
| Zone 0 | Inside the bathtub/shower tray | IPX7 |
| Zone 1 | Above the bathtub/shower, up to 2.25 m height | IPX4 (IPX5 with a direct water jet) |
| Zone 2 | 0.6 m from zone 1 | IPX4 |
| Outside the zones | The rest of the bathroom (e.g. at the mirror, ceiling) | IPX4 where splashing is possible; a lower class is acceptable away from water |
The first digit after IP (e.g. IP44) covers protection against solid objects, the second against water – the higher the second digit, the better the protection against splashing and jets of water. A practical rule: the closer to water, the higher the IP class, and never install a fixture rated lower than what’s required for that zone. Zone 0 needs fixtures specifically designed for submersion (low-voltage, e.g. SELV), not just any fixture marked IPX7. Always leave bathroom electrical work to a licensed electrician, in line with local regulations – IP zones set requirements for the fixtures themselves, they don’t replace a professional installation.
Ceiling lighting – flush mounts and downlights for general light
The bathroom’s main, general light usually comes from the ceiling – either a flush mount in the center of the room or several recessed downlights spread evenly.


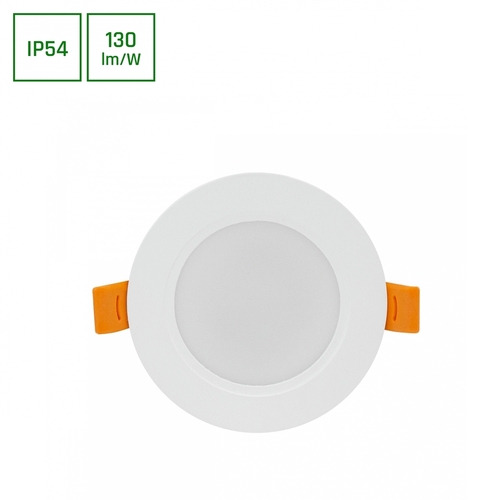
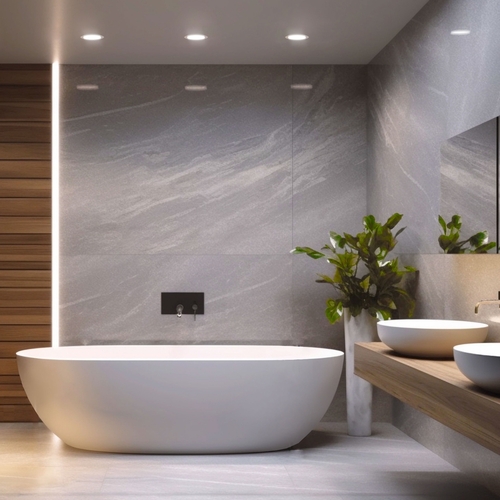


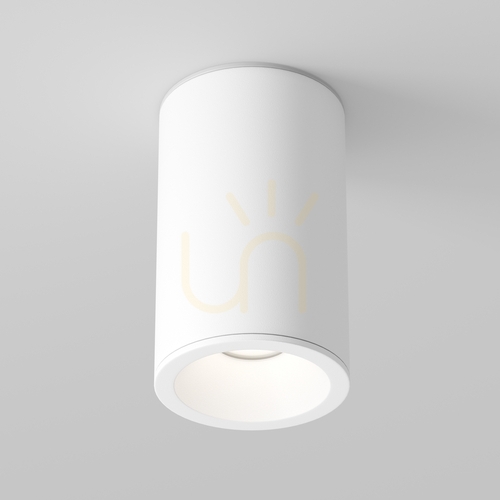
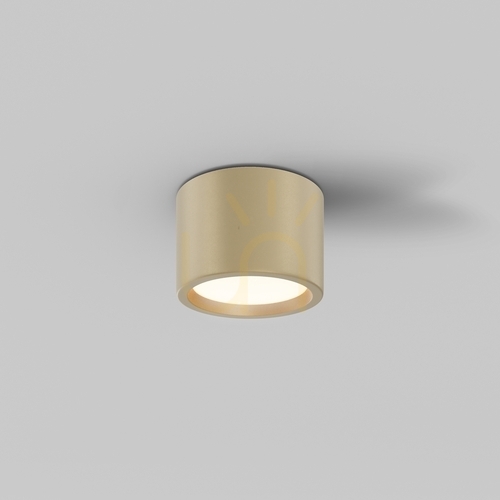
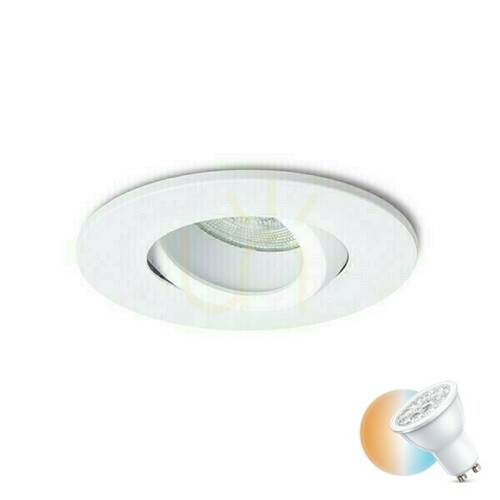
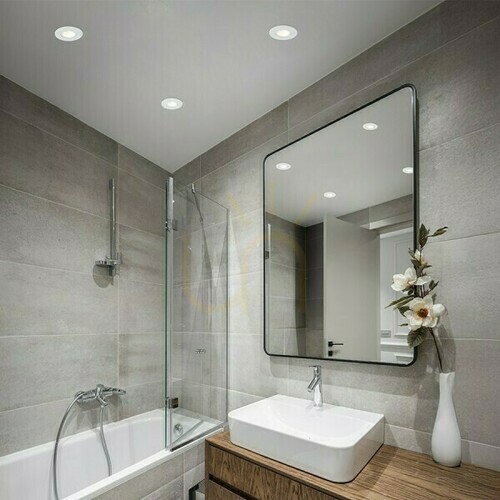
A central flush mount works well in smaller bathrooms as the sole source of general light. In larger rooms, it’s better to spread out several recessed downlights – they give more even light without the sharp shadow cast by a single point on the ceiling. Always check a ceiling fixture’s IP class against its distance from zones 1 and 2.
Illuminated mirror – light for makeup and shaving
Light falling from the ceiling casts shadows under the eyes and chin – exactly where they get in the way most during shaving or makeup. Good mirror light should come from the sides of the face, or evenly around the whole edge of the mirror, not just from above.
It’s also worth distinguishing between two types of illuminated mirrors: decorative backlit mirrors (a subtle glow visible from behind the glass – a nice visual effect, but too weak for actual tasks) and mirrors with real task lighting (stronger LEDs aimed at the face, bright enough for makeup or shaving). For everyday use at the mirror, choose the second type.


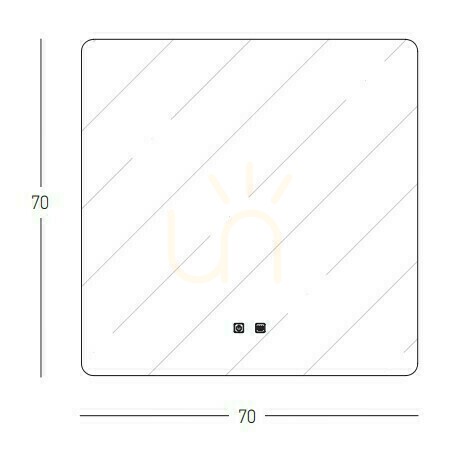

When choosing an illuminated mirror, go by its stated light output (lumens) and CRI rather than wattage alone – with LEDs, the same wattage can produce very different amounts of light depending on the diodes’ efficiency. For makeup and shaving, aim for around 400–500 lux on the face, with a CRI of 90+.
Color and CRI – why they matter especially in the bathroom
In no other room do light color and quality have such a direct effect on how you look as in the bathroom:
- A color temperature of 3500–4500 K at the mirror, combined with a high CRI, renders skin tone closest to how it looks in natural daylight (approx. 5000–6500 K) – a warmer tone (2700–3000 K) can be deceptive, since makeup applied under it may look different once you step outside.
- CRI 90+ at the mirror isn’t a luxury, it’s a practical necessity – a low color rendering index distorts skin tones and makes it harder to judge makeup or clothing colors accurately.
- The rest of the bathroom (ceiling, bathtub zone) can have a warmer 2700–3000 K tone, since it isn’t used for precise visual tasks.
Mood by the bathtub – dimming and warm accents
An evening bath serves a completely different purpose than the morning routine – here, relaxation matters most, not precision. A warm 2700 K color, dimmed light, and avoiding a sharp, focused beam directly above the bathtub build a mood that a single bright flush mount at full power simply can’t achieve.
Where possible, it’s worth splitting the circuits: one switch for bright, general light for morning tasks, another – dimmed, or a separate light point – for an evening bath. A dimmer on the general lighting circuit is the simplest way for one installation to serve both times of day.
How many lamps does a bathroom need – a quick calculator
A rough general-light requirement for a bathroom is 200–300 lm/m² – more than a living room, less than a kitchen worktop. The actual amount you need also depends on wall color, ceiling height, and how the fixtures distribute light, so treat the numbers below as a starting point, not a fixed rule:
- A 4 m² bathroom: 1 central flush mount (800–1000 lm) or 3 recessed downlights at 400–500 lm each.
- A 6 m² bathroom: 1 stronger flush mount (1200–1800 lm) or 4 recessed downlights.
- An 8–10 m² bathroom: 4–6 recessed downlights, spread evenly, plus separate light at the mirror.
- Mirror: go by the stated light output and CRI rather than wattage alone – as mentioned above, with LEDs that’s a misleading measure.
Frequently asked questions
What IP rating do I need for a bathroom? It depends on the zone: IPX7 inside the bathtub/shower tray (zone 0), IPX4 (or IPX5 with a direct water jet) above the bathtub and shower (zone 1), IPX4 within 60 cm of zone 1 (zone 2). Outside the zones a lower class is sometimes acceptable, but IP44 is a safe standard anywhere splashing might reach.
How many lumens does a bathroom need? Roughly 200–300 lm/m² of general light, so around 800–1800 lm for a 4–6 m² bathroom, depending on its size and wall color – plus a separate, stronger light at the mirror.
What light color is best for makeup? A color temperature of 3500–4500 K with a CRI of 90+ renders skin tone most faithfully, closest to natural daylight. Too warm a color (2700 K) can make makeup look different once you step outside.
Summary
Complete bathroom lighting means three layers of light matched to three different functions: general light from the ceiling in the right IP class for its zone, task light at the mirror at 3500–4500 K with CRI 90+, and mood light by the bathtub that’s warm and dimmed. Plan each layer separately, and the bathroom will serve you just as well at seven in the morning as at ten at night. Browse the full range in bathroom lamps, illuminated mirrors, and flush mounts.
Michał Smykowski


Maybe you will be interested in products from these categories?
Bathroom Lamps, Illuminated Mirrors, Flush Ceiling Lights
Tags & Blog Categories