
Stair lighting – stair lights, wall sconces, and LEDs that truly improve safety
Statistically speaking, stairs are the most dangerous place in the home—and yet we usually leave their lighting for last, if we plan it at all. Meanwhile, well-placed stair lighting not only prevents trips and falls, but can also transform an ordinary staircase into the most striking feature of the interior. We’ll show you the best height for installing stairwell lights, when to choose wall sconces and when to use LED strip lighting on the steps, and how to automate the whole system with motion sensors.
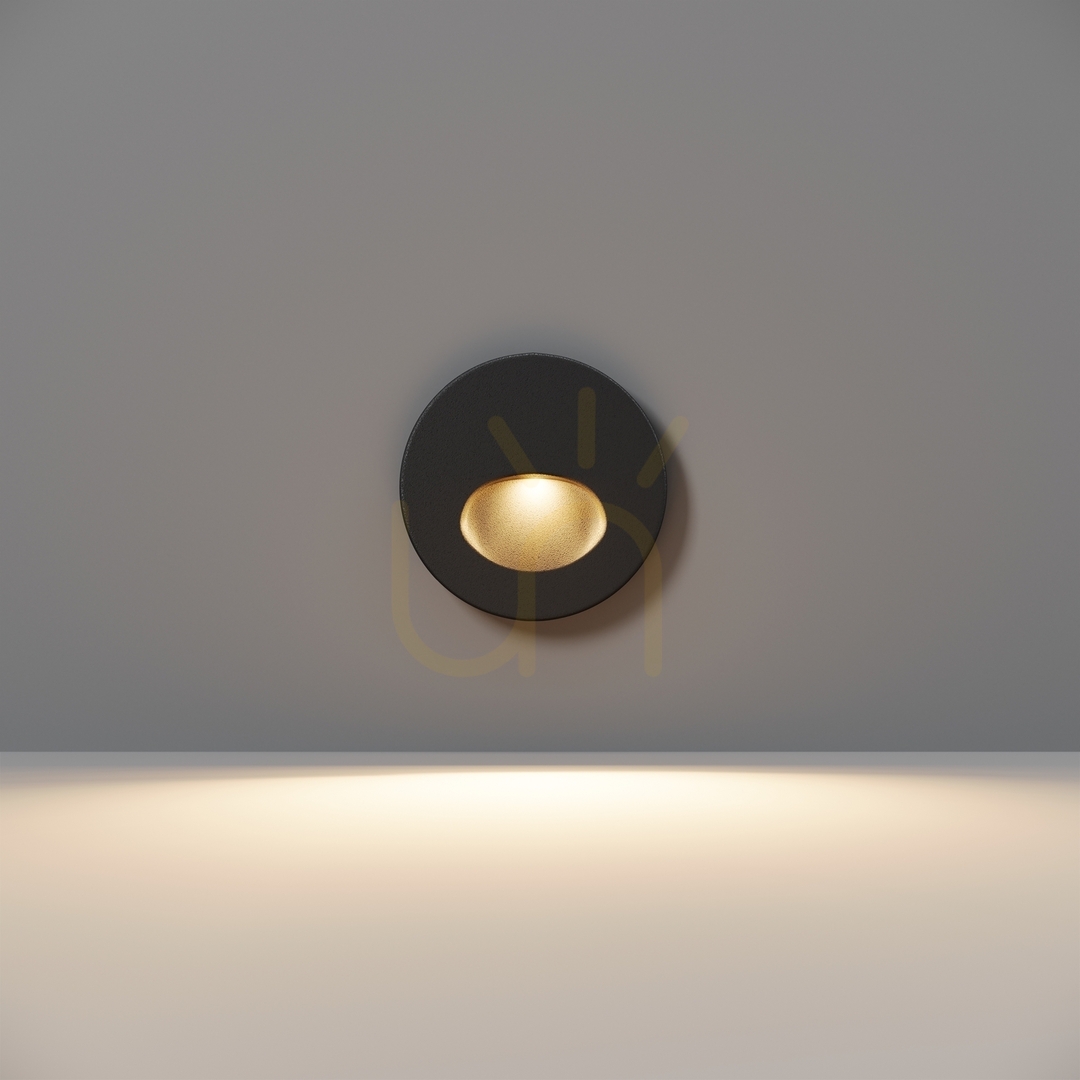
Table of Contents
- What do stairs require in terms of lighting?
- Wall-mounted stair lighting – a classic
- LED strips on the steps or under the handrail
- Wall sconces in the stairwell
- Motion sensors and controls
- Outdoor stairs – IP rating and anti-slip
- Common mistakes
- How much light and power for LED strips
- Summary
What lighting requirements do stairs have?
On stairs, lighting has one primary purpose: to illuminate the edge of each step. To achieve this, it must meet three conditions:
- Uniformity – no dark steps in the middle of the staircase. A shadow on a single step is a potential tripping hazard.
- No glare – a light fixture that shines directly into the eyes of someone descending the stairs is worse than no light at all. Choose fixtures that direct the light downward or have a deeply recessed light source.
- Contrast at the edges – light falling along the length of the staircase or from the side creates shadows on the steps. Light falling directly from the front flattens them.
Recessed stair lighting in the wall – a classic of the genre
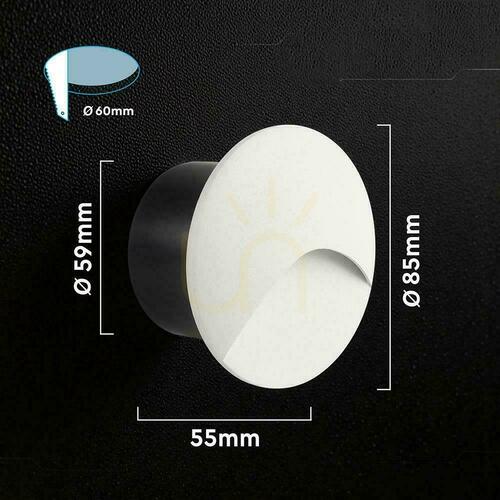
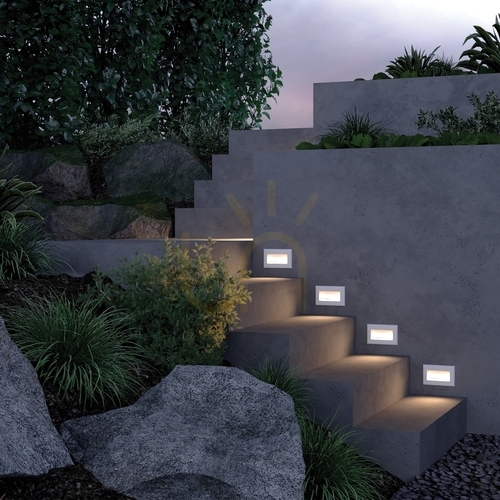
The most popular solution is small LED fixtures recessed into the wall along the staircase. Best practice:
- Installation height: approx. 15–30 cm above the step —this allows the light to glide across the treads and highlight their edges.
- Placement: every 2–3 steps on one side of the flight. For stairs wider than 1.2 m, consider alternating installation on both sides.
- Power: this is general lighting— 1–3 W per fixture is sufficient. More usually results in glare rather than comfort.
- Asymmetrical distribution – fixtures with a slanted shade direct all the light onto the step, so nothing is wasted.
It is best to plan for recessed boxes during the renovation phase. For finished walls, surface-mounted models with a flat housing are an alternative.




LED strip lighting on steps or under handrails
The second scenario—more striking—involves LED strip hidden in an aluminum profile:
- under the nosing of each step —each step gets its own line of light. A spectacular effect, but it requires a power source at each step or milling,
- under the handrail – a single continuous line illuminates the entire run. The simplest installation, and the light falls from the perfect direction,
- along the baseboard – a soft glow that guides the eye.
Two ironclad rules: always use a strip light in a profile with a frosted diffuser (bare LEDs reflect off the painted steps and are glaring), and place the power supply in a ventilated, service-accessible location. You can find profiles, power supplies, and strips in the Strip light category.
Wall sconces in the stairwell
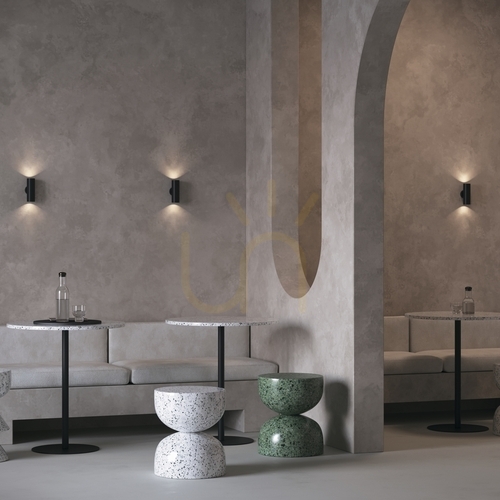
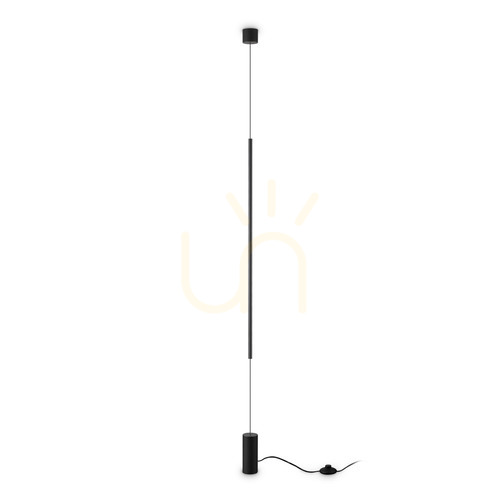
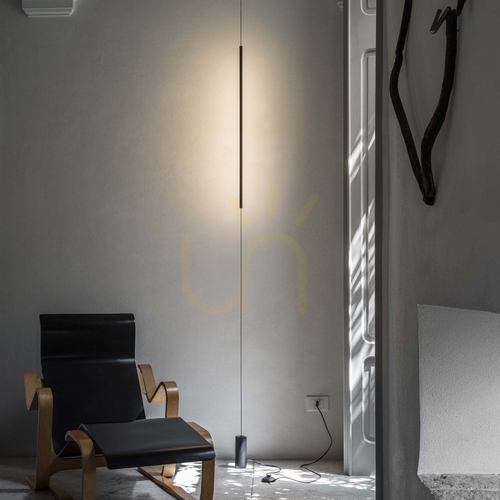
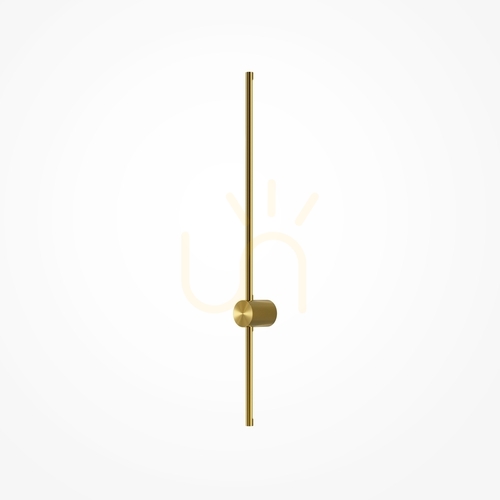
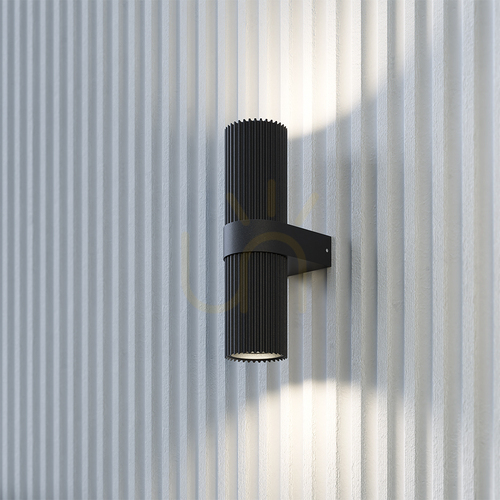
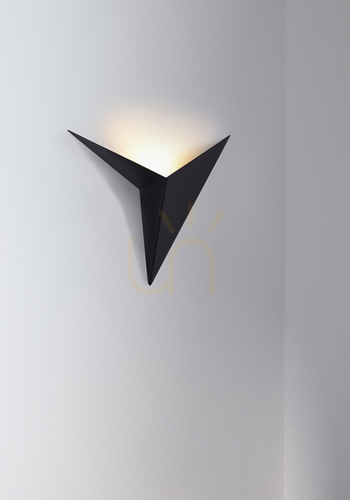
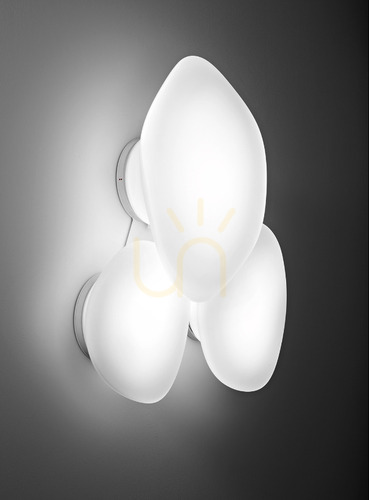
Wall sconces with an up-down light distribution work great in the stairwells of single-family homes: mounted approx. 160–180 cm above the floor, spaced 1.5–2 m apart, they provide soft light reflected off the walls and ceiling, filling the entire space without causing glare. This solution is both decorative and functional—unlike step lights, wall sconces also illuminate the railing and the artwork on the wall.
Wall sconces pair well with stairwell fixtures: the sconce provides “everyday” light, while the stairwell fixtures illuminate the path at night. You can find matching styles in the Wall lamps category.





Motion sensors and controls
Stairs are a natural environment for automation—no one wants to search for a light switch while carrying a load of laundry:
- A motion sensor at the top and bottom of the flight turns on the light before you set foot on the first step. Choose sensors with adjustable on-time settings (60–120 seconds is usually sufficient) and a twilight threshold so the light doesn’t turn on during the day.
- LED staircase controllers can illuminate steps sequentially, one after another, in the direction of travel—the “smart staircase” effect is impressive, and at night it provides just the right amount of light.
- Night mode – after 10 p.m., the light can turn on at 10–20% brightness. In complete darkness, this is more than enough, and it doesn’t wake up the household members.
Outdoor stairs – IP-rated and slip-resistant
For the stairs in front of the house, the rules are the same, plus two additional ones:
- At least IP65 protection for fixtures on the steps and at ground level (rain, snow, pressure washing). Wall sconces under a canopy can be IP44.
- Mechanical resistance – luminaires that are driven over or stepped on (in the landing) must have adequate impact resistance (IK08+) and must not overheat.
Outdoor color temperature: warm or neutral (2700–4000 K). A cold 6,000 K combined with concrete creates the effect of an underground passage—safety can be ensured without this aesthetic.
Common mistakes
- A single light at the top of the stairs —your own shadow then obscures the steps as you descend, which is the most dangerous direction.
- Fixtures in the steps that are too bright – 5 W in the line of sight is blinding. A few watts are really enough here.
- Bare LED strip without a profile – the dots of LEDs reflected on the steps look cheap and glaring.
- Lack of automation – a staircase light that you have to search for along the wall offers no protection at night.
- Omitting the first and last steps —that’s where most trips happen. These two steps must be the best lit.
How much light and power for LED strips
Stair lighting should guide, not flood the area with light—but every step must be clearly visible. Practical values:
- orientational wall fixtures: 1–3 W / 20–60 lm per fixture is more than enough. More usually causes glare,
- strip under the handrail/step: 150–300 lm per meter provides a soft, continuous line of light,
- color temperature: 2700–3000 K indoors. Warm light better defines the edges of the steps and is not glaring at night. CRI ≥ 80 is sufficient.
If you choose LED tape, plan the power supply:
- it operates at 12 or 24 V —for long runs, choose 24 V, as it loses less voltage (further steps won’t dim),
- choose a power supply with approx. 20% power reserve and place in an accessible, well-ventilated location,
- For "smart stairs" (where steps light up sequentially), a stair controller with sensors at both ends of the flight is required.
Outdoors, requirements go beyond IP rating alone: UV and corrosion resistance (aluminum, stainless steel), and in areas exposed to flooding and washing— IP67-rated luminaires.
Summary
Safe stairs are illuminated by three simple elements: stair luminaires 15–30 cm above every second or third step (1–3 W, glare-free), alternatively, LED strip lighting in the profile under the handrail, and motion sensors at both ends of the flight with a night mode. For outdoor use, add IP65 protection and a warm color temperature. You can find ready-made stair lighting fixtures, wall sconces, and LED systems in the category Stair Lighting.
Victoria


Maybe you will be interested in products from these categories?
Stair Lighting, Indoor Wall Lights, Strip light
Tags & Blog Categories