
Under stairs lighting: cupboard and wardrobe
Choose under stairs lighting for what sits beneath the flight: door-switched light in a cupboard, an LED strip in a profile in a wardrobe or bookcase. Wardrobe lighting under the stairs differs from lighting an ordinary wardrobe in two ways: the sloping ceiling and a driver that is easy to seal away. We give the lumens a cupboard needs, the sensor that suits a small door and the place to leave the driver so that replacing it does not mean taking the joinery apart.

Contents
- Under stairs lighting at a glance
- A closed cupboard: light that comes on with the door
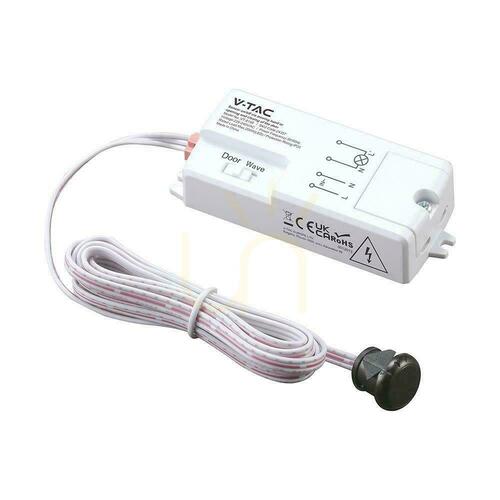
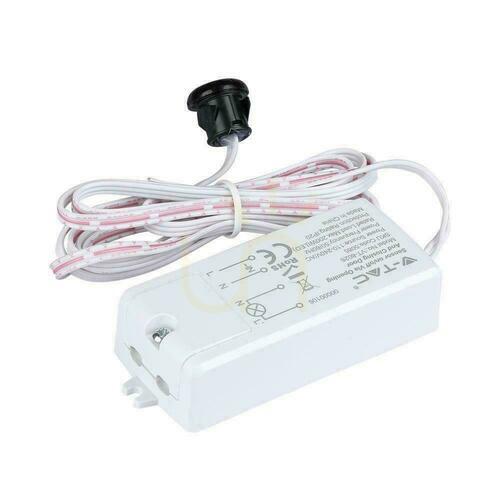
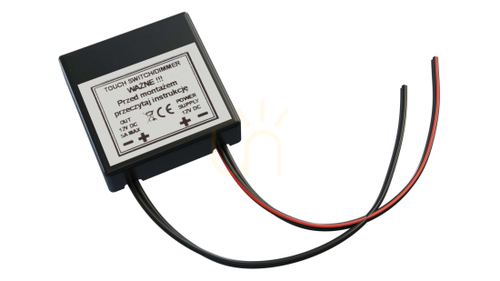
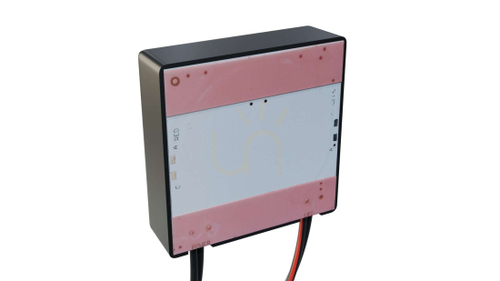
- Door sensor, PIR or touch switch – which one?
- No chasing, no electrician: rechargeable lights with a sensor
- Wardrobe lighting: walk-in wardrobe and pantry under the stairs
- Bookcase lighting and open shelves: an LED strip in a profile
- Cabinet lights: bars, puck lights and modules with a sensor
- Driver, cables and service access in an enclosed staircase
- The sloping ceiling under the stairs: downlights, depth and beam direction
- A home office or reading nook under the stairs
- A toilet or utility room under the stairs
- A wine alcove and a display cabinet
- Decorative accent: wall washer, uplight and backlit shelves
- How do you match under stairs lighting to the stair lights?
- Frequently asked questions
- Summary
Under stairs lighting at a glance
Plan under stairs lighting around what the space is for, not around the stairs. Each use needs a different kind of light and a different way of switching it. Three rules apply everywhere: a driver you can reach without taking the joinery apart, the same colour temperature as the stair lights, and no light source shining into the eyes of someone coming down.
- Closed cupboard – a linear fitting or a flat ceiling light just inside the door, switched by a door sensor or a motion sensor. With no power inside: a rechargeable bar light with a sensor.
- Wardrobe, walk-in wardrobe, pantry – an LED strip in a profile along the shelf fronts and above the rail, with high CRI, switched by the door.
- Open shelves and bookcase – a strip in a profile at the front edge of the shelf, or ready-made cabinet lights.
- Office, reading nook, toilet – a task light plus soft background light; in a WC, a fitting on the vertical wall.
- Wine alcove, display cabinet, accent – low-power LED switched on while you are looking; a wall washer when the alcove is meant to be decorative.
A closed cupboard: light that comes on with the door
Under stairs lighting most often means lighting a cupboard, and that is where people usually end up using a phone torch. It needs little light, but the light must appear the moment the door opens. Nobody hunts for a switch in a dark cupboard with a vacuum cleaner in hand.
Mount the fitting just inside the door opening, under the door head or high on the side wall by the entrance, with the light aimed inwards. It then falls on what is in front of you, and your own shadow does not block it. A fitting tucked away at the low end of the cupboard lights the backs of things and shines into your eyes when you bend down. Under a straight flight the cupboard can be 2–3 m deep. In that case add a second point halfway along or run a strip in a profile along the underside of the flight.
Finding things needs about as much light as a corridor. As a starting point, take about 150–250 lm of source output per square metre of cupboard floor, which gives 250–500 lm for a typical cupboard of 1.5–2 m². The real result depends on the beam, the position and what is on the shelves, so compare the stated lumens, not the watts.
Choose 3000 K if the cupboard opens onto a hall with warm light. In a utility space where you look for tools or jars of preserves, 4000 K works better.
If the cupboard has a socket or a cable left by the electrician, choose a mains fitting or a strip with a driver and sensor. It works for years with no charging. Door sensors and motion sensors are in the Motion Sensors category. If there is no power inside and the stairs are already finished, a rechargeable light with a sensor solves the problem in a few minutes. A middle route is a plug-in driver in a socket outside and a low-voltage cable passed through a small hole in the cupboard wall. Before drilling, check that no other cables or pipes run through the wall.
Door sensor, PIR or touch switch – which one?
For a closed cupboard, choose a door sensor: when correctly adjusted, it switches the light off as the door closes. A PIR motion sensor suits a cupboard you walk into. A hidden touch switch works for shelves, a desk and a display cabinet, where the light stays on for longer.
- A door sensor turns the light on when the door opens and off when it closes. You screw an infrared proximity version to the frame or side panel, and it reacts to the door leaf from a few centimetres away (the range is given on the product page). A magnetic version (reed switch) consists of a sensor and a magnet on the door, and the simplest are push switches, as in a fridge. In a double-door wardrobe the light should come on when either leaf is open, which is what twin sensors are for.
- A PIR motion sensor reacts to the movement of a warm body, not to the door itself. It suits a walk-in cupboard or one without a door. Set the on-time generously (1–3 minutes), because a PIR switches the light off while you stand still looking for something in a box. In an open alcove next to the stairs it can trigger every time someone uses the steps, so a switch is better there.
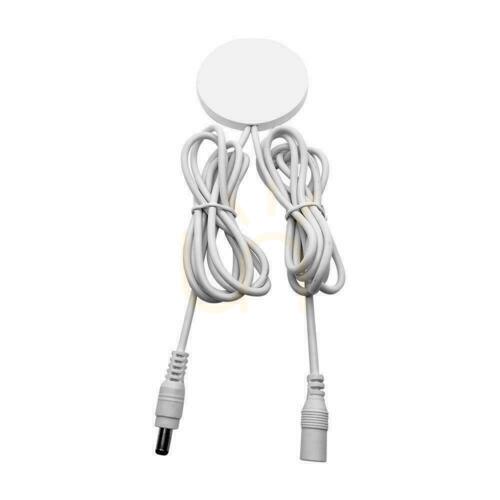
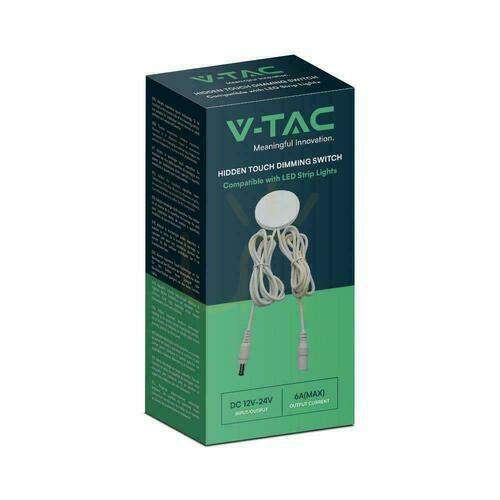
- A hidden touch switch goes under a worktop or behind a furniture panel. It works through a board typically up to 20–40 mm thick (the exact limit is given by the manufacturer), and many models dim when you hold your finger on the spot.
- A touchless switch is set into a profile or panel. It reacts to a wave of the hand from a few centimetres away and is handy in a pantry when your hands are full or dirty.
The second question is voltage. Sensors and switches come in 230 V versions, wired into the mains cable before the driver or fitting, and in 12/24 V versions, wired between the driver and the strip. The mains version cuts the driver off completely, but connecting it is a job for an electrician. The electrician will also match it to the load, because LED drivers draw a high inrush current and the wattage alone is not the whole story. You can assemble a low-voltage kit with a plug-in driver and factory connectors yourself, following the instructions. The driver then runs continuously and draws a little standby power.




No chasing, no electrician: rechargeable lights with a sensor
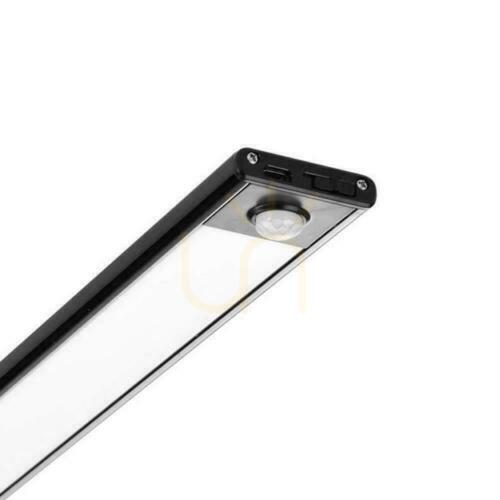
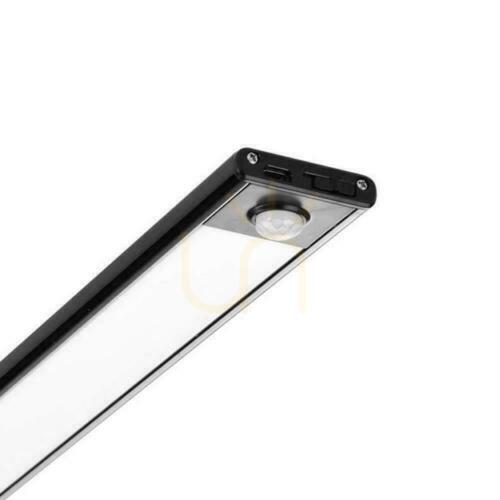
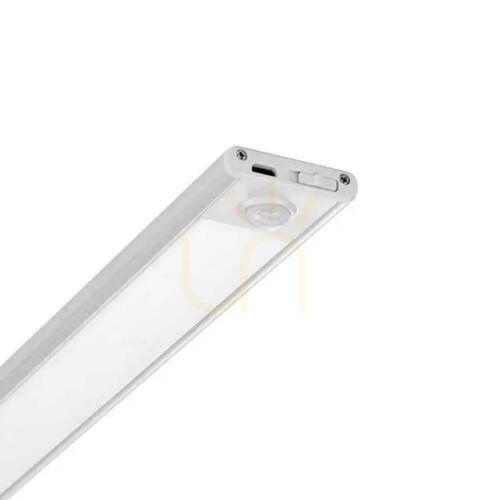
When the stairs are finished and the cupboard has no socket or cable, the quickest fix is rechargeable bar lights with a motion sensor. They attach with a magnet or mounting tape and charge over USB, and the sensor switches them on when you open the door and reach inside. No drilling is needed, which also makes them a good option for tenants. Adhesive tape can, however, damage paint when removed. They also suit pull-out drawers and larder units under the stairs, where a cable is awkward.
Judge the runtime in watt-hours. A capacity in mAh means nothing without a voltage, so if the manufacturer does not give Wh, work them out yourself using the cell’s nominal voltage (usually 3.6–3.7 V for lithium-ion). A 3000 mAh battery at 3.7 V is about 11 Wh, and a bar drawing 2.5 W would in theory drain it after about 4 hours of continuous light. If the cupboard light is on for a total of 10 minutes a day, you use about 0.4 Wh per day. The arithmetic gives several weeks between charges, and the sensor’s standby draw and the circuit losses shorten that.
Rechargeable lights are dimmer than mains fittings (typically 100–300 lm) and usually have a CRI of around 80. For a cupboard with the vacuum cleaner and shoes they are perfectly adequate. For a wardrobe where you choose clothes by colour, a mains strip is the better choice. Bar lights and lamps with a sensor are in the Rechargeable Lamps category.





Wardrobe lighting: walk-in wardrobe and pantry under the stairs
Wardrobe lighting has a different job from cupboard lighting: to show the colour and texture of clothes on the vertical plane of hanging garments, not to light the floor. Above the rail, run a strip in a profile under the shelf, at its front edge. The light then falls on the fronts of the clothes, not just on the shoulders of the hangers.
Along the shelf fronts, a 45° corner profile between the shelf and the side panel works well, or a surface profile under the front edge of the shelf above. In tall units a vertical profile in the side panel, just behind the front, is often the better option. That line of light reaches all the shelves at once and reduces the shadow each of them casts.
In a wardrobe 3000–4000 K works, matched to the light in the neighbouring hall or bedroom. More important than kelvins is a colour rendering index CRI (Ra) of 90 or higher. In dim light with a low CRI, navy is easily mistaken for black and beiges lose their tone. If the manufacturer states R9 (saturated red, which the Ra average does not include), a higher value means better-rendered reds.
In a wardrobe, a strip delivering around 400–800 lm per metre, run along every shelf or above the rail, is usually enough. Compare the lm/m stated by the manufacturer and treat the W/m rating as a figure for sizing the driver and the profile.
In a pantry 4000 K works well, because labels are easier to read, together with a door switch or a touchless one, because your hands are often full. Keep the driver away from the food shelves.



Bookcase lighting and open shelves: an LED strip in a profile
Bookcase lighting under the stairs is most often spoiled by visible LEDs and a strip in the wrong place. The result depends on where the strip sits relative to the shelf edge:
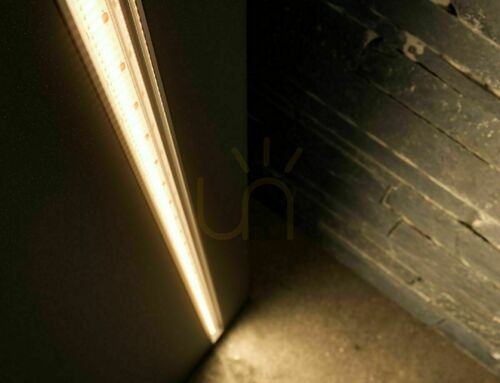
- At the front, under the shelf: the light falls on the fronts of the books and objects on the shelf below. Choose it when you want to see book spines and colours. The strip must be hidden in a profile behind a masking strip, in a groove routed into the underside of the shelf, or in a 45° corner profile aimed inwards.
- At the back wall: the light spills across the wall behind the objects and draws their silhouettes. It is striking with glass, ceramics and plants, but the fronts of books stay in half-shadow, so this is decorative lighting, not functional.
- Vertically in the sides of the bookcase: as in a wardrobe, it gives more even light on every shelf and fewer shadows, but it needs routing or a surface profile in the corner.
Under the stairs the shelves run from the floor to the underside of the flight, so you see some from above and others from below. On shelves below eye level, a strip under the shelf above is usually barely visible. On shelves above eye level you look straight at the underside of the shelf, so set the profile further back behind the edge or hide it behind a strip of trim. Before you stick anything down for good, hold the strip and profile in place temporarily and check the effect standing, from the sofa and from the stairs.
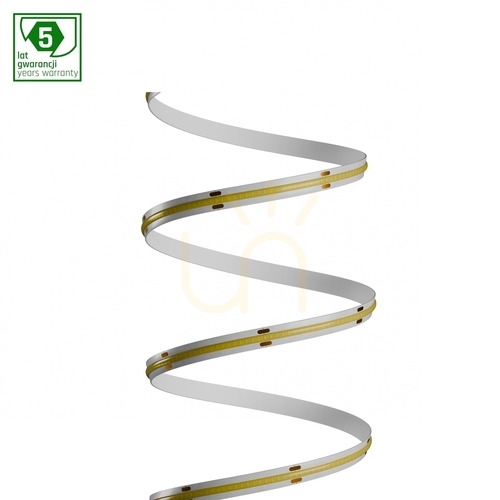
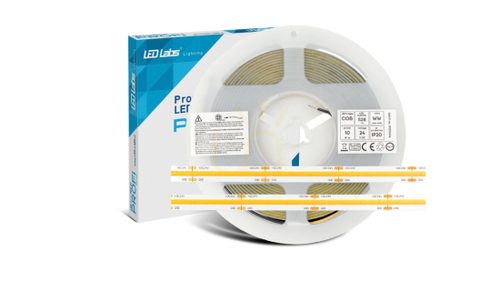
Glass shelves and lacquered fronts reflect every LED. An opal diffuser, a dense strip (120+ LEDs/m or COB) and a profile of the right depth get you closest to a line without dots. In the end, the specific combination of strip, profile and diffuser decides.
When the shelves belong to a living room or hall, stick to 2700–3000 K, the same as the general and stair lighting. For books and collections choose CRI 90+; for a decorative glow on the back wall, CRI 80 is enough. For functional shelves choose strips of roughly 4–10 W/m, for a glow 2–5 W/m, ideally with a dimmer. The more powerful the strip, the more substantial the profile needed to carry the heat away; the strip and profile manufacturers give the details.
For the strip itself, check the voltage (12 or 24 V), the LED density and the spacing of the cutting points. For the profile, check the channel width and the type of diffuser. Strips, profiles, diffusers and drivers are in the LED strips and profiles category.


Cabinet lights: bars, puck lights and modules with a sensor
If you would rather not assemble a strip, profile and driver, reach for ready-made fittings for under-stairs joinery: cabinet lights. Three types work well:
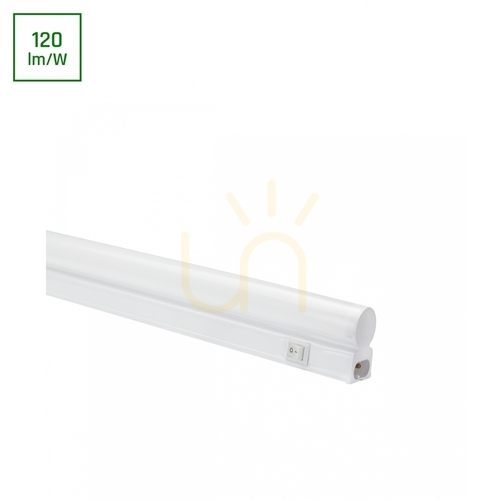
- 230 V LED bars have a built-in driver and often a switch on the housing. Many models can be linked with a through-connector cable into a longer run, but only with compatible bars from the same range and within the limit stated by the manufacturer. They are the simplest option when there is a socket in the unit.
- 12 V linear modules are flat bars with a built-in sensor (motion, proximity or touch at the end of the housing), powered from one driver shared by several modules. They suit cupboards and shelves where each section should light up separately.
- Puck lights and small spots are small round fittings, surface-mounted or recessed into the shelf. They create pools of light that model objects in a display cabinet well, but on a bookshelf they leave dark gaps between the points.
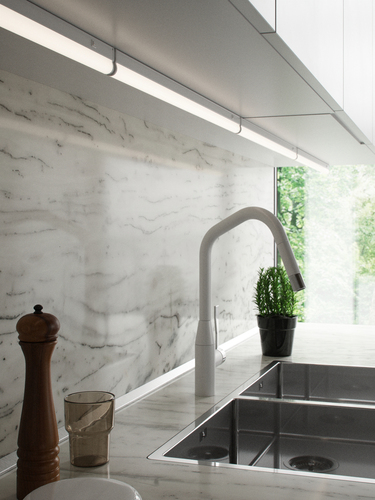
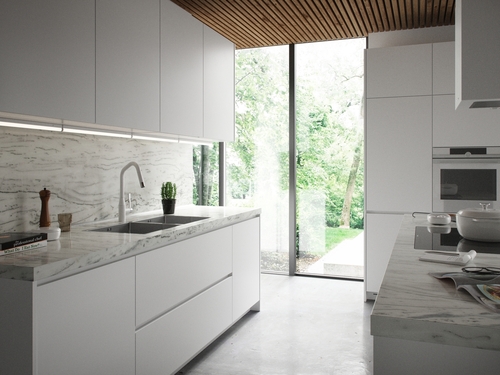
Mounting follows the rules for kitchen wall units: the fitting near the front edge, the light on the contents rather than the wall. Most cabinet lights are designed for kitchens, so the widest choice is in the Under Cabinet Lighting category. Under the stairs they work the same way. Check the colour temperature on the product page: many cabinet modules are 6000 K, which looks clinical in a hall.


Driver, cables and service access in an enclosed staircase
The costliest mistake in under stairs lighting is a driver sealed behind plasterboard. The driver is usually the first part to fail, and replacing it should not mean dismantling the joinery.
Put the driver, controllers, sensors and connectors where you can reach them without tools or through an access panel. Good places are the taller part of the cupboard, a side wall, the top shelf or the plinth behind a ventilation grille. Never hide them behind a permanently screwed board or under a pile of things that hampers cooling. Drivers get warm, so in a small enclosed space leave air around them and keep clothes and boxes off them.
Size the driver with roughly 15–25% headroom, for example a 30 W driver for strips drawing about 24 W in total. The manufacturer’s guidance on operating temperature and load takes precedence. The simplest base for plug-in drivers and 230 V bars is a socket in the cupboard. A new socket or junction box is fitted by an electrician; plan it in the tall part of the cupboard, not by the floor at the low end where it is hard to reach.
The parts of the kit have to match. The strip and the constant-voltage driver share one voltage (12 or 24 V), and the controller or sensor must be rated for that voltage and load. The connectors must fit the strip’s width, and the profile needs a channel of the right width. If you want to dim with an ordinary wall dimmer, the driver must support it, and most standard models cannot.
Cable routes depend on how the stairs are built:
- Timber or steel stairs with an enclosed underside usually have a void between the treads and the plasterboard soffit. Plan the routes with an electrician before the enclosure is closed. A cable in conduit of a suitable diameter and without tight bends can usually be replaced later without chasing. Do not notch or drill load-bearing parts of the stairs (stringers, beams) without the designer’s approval.
- Reinforced-concrete stairs have no void, so you are left with a chase in the wall along the flight (during renovation) or a surface cable in trunking or a profile.
- On open-riser stairs with no enclosure the cable is visible from every side. Run it in the corner against the wall or inside the profile together with the strip, or choose rechargeable lights.
A 12/24 V circuit fed from a SELV driver (safety extra-low voltage) carries no risk of electric shock, but a short circuit, an undersized cable or a loose connection can lead to overheating. Size the cable for the power and run length, and insulate connections carefully. Use grommets in holes through furniture board to protect the insulation from sharp edges. Under the stairs the runs are short, so 12 V is usually enough. For longer runs and higher loads 24 V is better; stick to the maximum single-end feed length given by the strip manufacturer as well. Anything that touches the 230 V installation – new points, mains sensors, permanently connecting a driver – leave to an electrician.
The sloping ceiling under the stairs: downlights, depth and beam direction
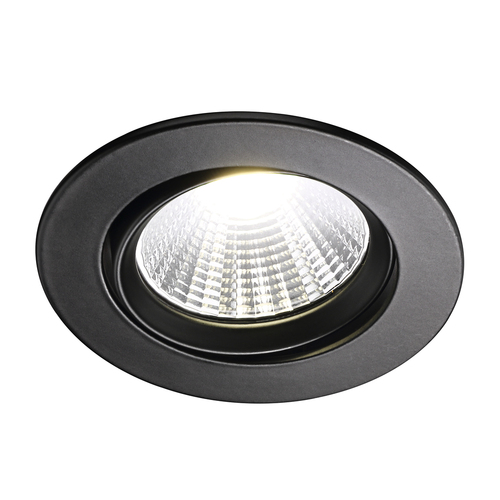
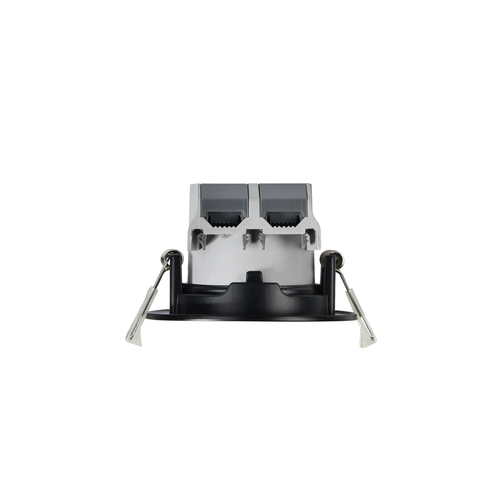
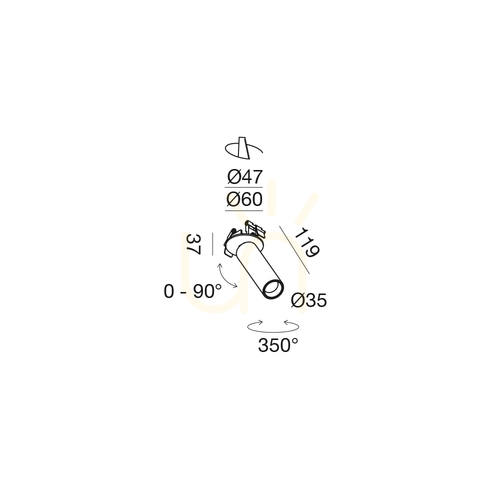
The underside of a flight is a ceiling sloping at usually about 30–40°. The light axis of a downlight recessed into the slope is perpendicular to the slope, so the beam runs at an angle towards the higher part of the cupboard, typically straight into the eyes of someone standing at the entrance. Tilting downlights usually swivel by 30–45°, while swivel-tube spots can turn as far as 90°. Check on the product page that the model tilts by the angle of the slope and in the direction you need.
A recessed fitting also needs space above the board, from about 6–7 cm to a dozen or more centimetres depending on the model. It needs clearance from insulation too, unless the manufacturer allows it to be installed in insulation. In enclosed timber stairs this usually fits. Reinforced-concrete stairs without a suspended soffit have no room, which leaves a surface-mounted fitting or a profile. Before cutting a hole, also check that no cables or pipes run in the void above the soffit.
The enclosure under the stairs may be a fire barrier if the stairs are part of an escape route and the underside is lined with fire-rated board. A hole for a fitting, a cable or a fixing can then weaken the fire resistance of the whole lining, so agree any intervention with the designer.
Often it is better to avoid the slope altogether. A fitting on the vertical wall above the door gives more even light without wrestling with angles. So does a bar under a horizontal shelf, or a strip in a profile along the line where the slope meets the wall. Downlights for the soffit are in the Downlights category.



A home office or reading nook under the stairs
A desk under the stairs wins back a few square metres. The spot usually has no window and a low ceiling, though, so general light from the hall is not enough.
A useful reference for the desk is EN 12464-1 on lighting indoor workplaces. For writing, reading and computer work in an office it specifies an average maintained illuminance of 500 lx in the task area. At home you get close to that with a desk lamp or a bar under the shelf above the desk. Fit the bar at the front edge of the shelf, with an opal diffuser so it does not shine into your eyes. Position it so that its reflection does not land on the screen. Light from the side, opposite your writing hand, works best.
A bright desktop in a dark niche tires the eyes through contrast. Add soft light on the walls of the nook: a strip along the slope aimed at the wall, or an up-and-down wall light. If the nook is used for work by day and for relaxing in the evening, consider a tunable-white (CCT) source: 4000 K during working hours, 3000 K in the evening.
A reading nook needs less general light and more directional light. Mount a wall light with an arm or an adjustable head next to the armchair. The source should sit slightly above and to the side of the seated reader’s head, usually about 120–150 cm above the floor. Choose 2700–3000 K and a switch within reach of the chair.
A toilet or utility room under the stairs
In a toilet under the stairs the fitting goes in an awkward spot: there is a low, sloping ceiling above the WC and little room above the door. A flat ceiling light or a wall light on the vertical wall usually works best, plus a separate light by the mirror. If the WC is to run on a sensor, choose a model with an adjustable, long on-time or a presence detector and keep an ordinary switch as an override. A motion sensor that switches the light off after a minute of stillness soon annoys everyone in the house.
Choose the IP rating for the real exposure to water. The zones of HD 60364-7-701 (in the UK, BS 7671 Section 701) cover locations containing a bath or shower and do not arise from a washbasin alone. In a toilet without a shower, IP44 by the basin is a sensible margin. If there is a shower under the stairs, the full zone system applies, and the installation is designed and carried out by an electrician.
In a utility room under the stairs (washing machine, vacuum cleaner, tools) a single bright 4000 K fitting on the wall or a flat ceiling light is enough. By the washing machine choose a fitting with higher ingress protection, and have an electrician check whether the socket and circuit are protected by an RCD.
A wine alcove and a display cabinet
An alcove under the stairs is a popular spot for a wine rack. Light it with LEDs only: white LEDs emit far less infrared in the beam than halogen, so they warm the bottles much less. Heat is still produced at the back of the fitting and in the driver. Put the driver outside the alcove, and in a closed, cooled wine cabinet do not mount it inside.
Long exposure to light, especially short-wavelength light, can spoil the taste of wine; white and sparkling wines in clear bottles are particularly susceptible. Switch the lighting on with a button or sensor while you are looking, not for the whole evening. Warm 2700–3000 K brings out the glass and the labels, while cold white makes a collection look like a supermarket shelf. For wine kept longer, a steady, cool temperature and the absence of vibration matter more than light. An alcove next to a warm heating pipe or a radiator will not become a cellar thanks to a good fitting.
A display cabinet with a collection (ceramics, models, glass) needs good colour rendering, meaning CRI 90+, and light from above or from the side. Small spots above each shelf model the objects, and with glass shelves light from above passes through the levels below. A mirror on the back panel doubles the effect, but it also shows every exposed LED, so a diffuser or a fitting with a deeply recessed source is a must here.
Decorative accent: wall washer, uplight and backlit shelves
An open alcove under the stairs often stores nothing; it simply should not be a black hole. The most even way to brighten it is a wall washer: a linear fitting with suitable optics, set back from the wall and aimed at it. The light covers the whole surface as evenly as possible, so the alcove looks deeper even though the fitting has a low output. An ordinary strip stuck right next to the wall will give grazing light rather than an even wash.
An uplight is a small fitting at floor level, or a strip along the bottom edge of the stair stringer, that shines up the wall and the underside of the flight. Light striking the wall at a shallow angle brings out the texture of timber, brick or stone, but also every unevenness in the plaster. On an averagely finished wall a wall washer is therefore the better choice.
A strip at the back edge of the shelves or behind a panel creates a glow against which objects become silhouettes. A sculpture, a vase or a large plant in the alcove is better lit by a spot from above. Dimming is what matters with accent light: 20–30% output in the evening is enough for the alcove to be visible without dominating the rest of the interior.
How do you match under stairs lighting to the stair lights?
Give both zones the same colour temperature and hide the sources under the flight so that they do not shine into the eyes of people coming down. Under stairs lighting is visible from the steps, especially on the way down, when you look down and ahead.
If the wall lights by the steps are 2700–3000 K, the accent and shelves under the stairs should be too. Warm stair lights next to cold cabinet modules are the most common clash. An exposed strip or downlight under the flight can dazzle someone coming down. Use a profile with a diffuser, set the source back behind the shelf edge, or aim the fittings down or at the wall.
The under-stairs accent can come on together with the stairs’ night light at 10–20% output, and the alcove then gives a soft glow at the foot of the stairs. Do not link the cupboard and wardrobe to this scene, because there the light should respond to the door. A motion sensor at the foot of the stairs should not see into the open alcove, and vice versa; otherwise every movement in one zone lights up the other.
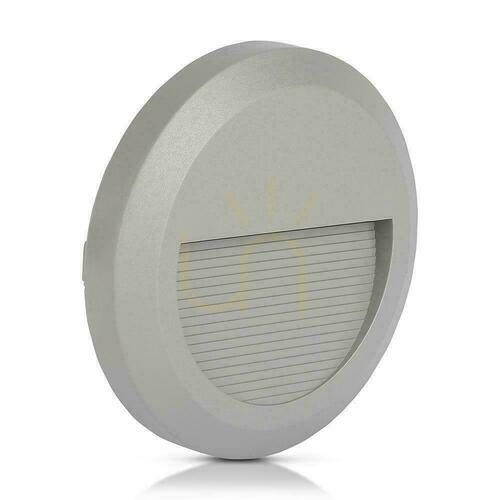
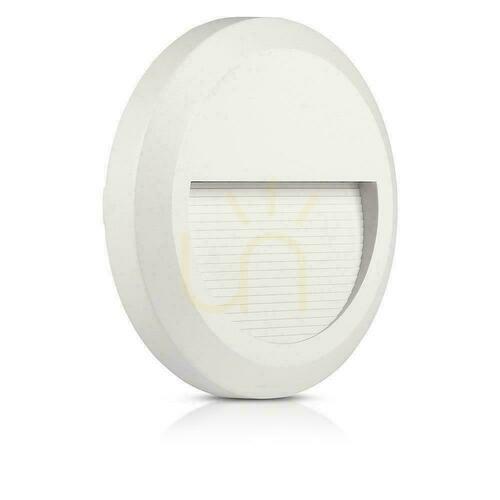
Fittings that match the under-stairs light in style and colour temperature are in the Stair Lighting category.




Frequently asked questions
How do I light an under-stairs cupboard that has no power?
The quickest way is a rechargeable bar light with a motion sensor, fixed with a magnet or mounting tape and charged over USB. If there is a socket just the other side of the wall, an alternative is a plug-in driver outside and a low-voltage cable to a strip inside, with no chasing and no electrician.
Motion sensor or door sensor for an under-stairs cupboard?
For a closed cupboard, choose a door sensor: it switches the light on as the door opens and off as it closes, whether or not you move. A motion sensor makes sense in a cupboard you walk into; give it a generous on-time so that it does not switch off while you search through a box.
What colour temperature for a wardrobe under the stairs?
The same as in the neighbouring hall or bedroom, usually 3000–4000 K. When choosing clothes, the colour rendering index matters more than the kelvins, so look for a strip with CRI 90 or higher. Switch the strip from the door so that it does not stay on inside a closed wardrobe.
Where should an LED strip go on a shelf – at the front or the back?
At the front, under the shelf above, if you want to light the objects and see their colours, because the light then falls on the fronts of books and clothes. At the back, if you are after a decorative glow and silhouettes. Either way, the strip should sit in a profile with a diffuser.
Can an LED strip be shut inside a cupboard?
Yes, if it sits in an aluminium profile suited to its power and the driver has ventilation and service access. The temperature depends on the strip’s power, the profile and the airflow, so follow the manufacturer’s data. Switching from the door means the strip is only on while the cupboard is open.
Can I fit downlights in the underside of the stairs?
Yes, if there is the depth above the board that the fitting’s product page states, the enclosure is not a fire barrier, and the downlights tilt enough to compensate for the slope. In reinforced-concrete stairs without a suspended soffit, use surface-mounted fittings or a strip in a profile along the wall.
Do I need an electrician for under stairs lighting?
Not for rechargeable lights or ready-made kits with a plug-in driver and factory connectors. A new socket or junction box, a 230 V sensor and permanently connecting a driver are jobs for a qualified electrician, ideally before the enclosure under the stairs is closed.
Summary
Before you buy any fittings, measure three things: the total length of shelves and rails, the distance to the nearest socket and the depth above the stair soffit. With no socket and finished stairs, buy a rechargeable bar light with a sensor and stop there; a cupboard for the vacuum cleaner and shoes needs nothing more. If there is a socket or a renovation ahead, choose an LED strip in a profile with the driver in a reachable place. Only a strip gives a wardrobe and a bookcase an even line of light with good colour rendering. Plan downlights in the underside of the flight only when the measured depth allows them; otherwise a fitting on the vertical wall gives better light for less money.
Maciej Hudaszek


Maybe you will be interested in products from these categories?
Stair Lighting, Under Cabinet Lighting, LED strips and profiles, LED Profiles, Downlights
Tags & Blog Categories